严老师,您好:
我在win 7下使用的是MATLAB 7.9.0, DPARSFv1.0 100201, REST V1.4 100426, SPM5。有5个被试,DPARSF设置是
.png)
结果在做到第五个被试的Realign时报错
Printing Graphics Windows to
E:\Analysis\FunImg\spm_2010Apr29.ps
--------------------------
Running "Realign: Estimate & Reslice"
Printing Graphics Windows to
E:\Analysis\FunImg\spm_2010Apr29.ps
--------------------------
Running "Realign: Estimate & Reslice"
Printing Graphics Windows to
E:\Analysis\FunImg\spm_2010Apr29.ps
--------------------------
Running "Realign: Estimate & Reslice"
Printing Graphics Windows to
E:\Analysis\FunImg\spm_2010Apr29.ps
--------------------------
Running "Realign: Estimate & Reslice"
Printing Graphics Windows to
E:\Analysis\FunImg\spm_2010Apr29.ps
??? Error using ==> copyfile
No matching files were found.
Error in ==> DPARSF_run at 321
copyfile('co*',['..',filesep,'..',filesep,'T1ImgSegment',filesep,AutoDataProcessParameter.SubjectID{i}])
Error in ==> DPARSF>pushbuttonRun_Callback at 924
[Error]=DPARSF_run(handles.Cfg);
Error in ==> gui_mainfcn at 96
feval(varargin{:});
Error in ==> DPARSF at 38
gui_mainfcn(gui_State, varargin{:});
??? Error while evaluating uicontrol Callback
这是因为患者头动过大造成的吗?
谢谢!
Submitted by YAN Chao-Gan on Sat, 05/01/2010 - 23:05 Permalink
Re
Hi!
不是因为头动过大造成。
事实上,头动校正已经做完了。
问题在于你准备用T1图像分割配准,而你并没有整理好的相应的T1像。如果你没有结构像的DICOM文件,DPARSF要求T1 NIFTI像文件名以co开头。如果不是,可以用DPARSF的工具批量改名。详见http://www.restfmri.net/forum/Course
祝一切顺利!
Submitted by demonpupil on Sun, 05/02/2010 - 12:22 Permalink
T1图像分割出错
严老师,您好:
在做T1分割之前我已经将从MRI(我们是GE公司的机器)导出的DICOM数据(*.dcm)放进了T1Raw之中,其命名为
D:\Analysis\T1Raw\sub_001\*.dcm;而功能数据我放到D:\Analysis\FunRaw\sub_001\*.dcm中,但还是报错,错误跟上面说的一样。倒是有一个奇怪的地方,我们设置的是扫描240个时间点但是在每个被试的T1数据有248个,不知道是不是这个影响?
Submitted by YAN Chao-Gan on Sun, 05/02/2010 - 23:55 Permalink
Re
你好!
那你的T1Img目录下面生成了怎样的文件呢?
Submitted by demonpupil on Tue, 05/04/2010 - 09:03 Permalink
T1Img下面生成的文件
严老师,您好:
我用一个被试重新跑了一次,还是出现同样错误,在生成的T1Img文件夹中生成了两个hdr文件和两个img文件。
Submitted by YAN Chao-Gan on Tue, 05/04/2010 - 16:38 Permalink
Re
Hi!
请报告一下这两个img文件的文件名。
Submitted by demonpupil on Tue, 05/04/2010 - 23:58 Permalink
文件名
分别是20100426_225903EPILEPSYF13YANGLUs013a1001_1.hdr
20100426_225903EPILEPSYF13YANGLUs013a1001_1.img
20100426_225903EPILEPSYF13YANGLUs013a1001_2.hdr
20100426_225903EPILEPSYF13YANGLUs013a1001_2.img
我用dcm2niigui将T1Raw转成nifri文件放到T1Img文件夹之后重新跑了一次,这次可以做normalize了,但是又出现这样的报错
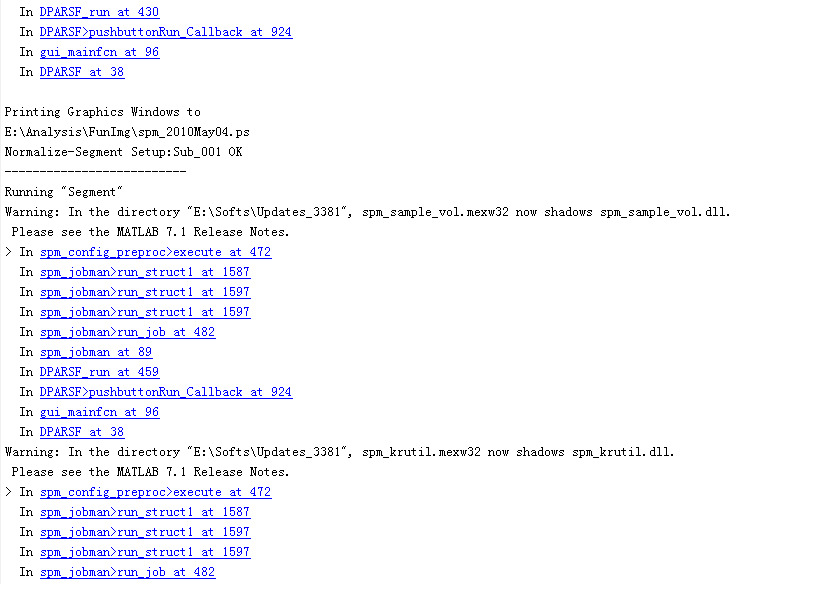
我的电脑是win7操作系统,4核CPU,4G内存。
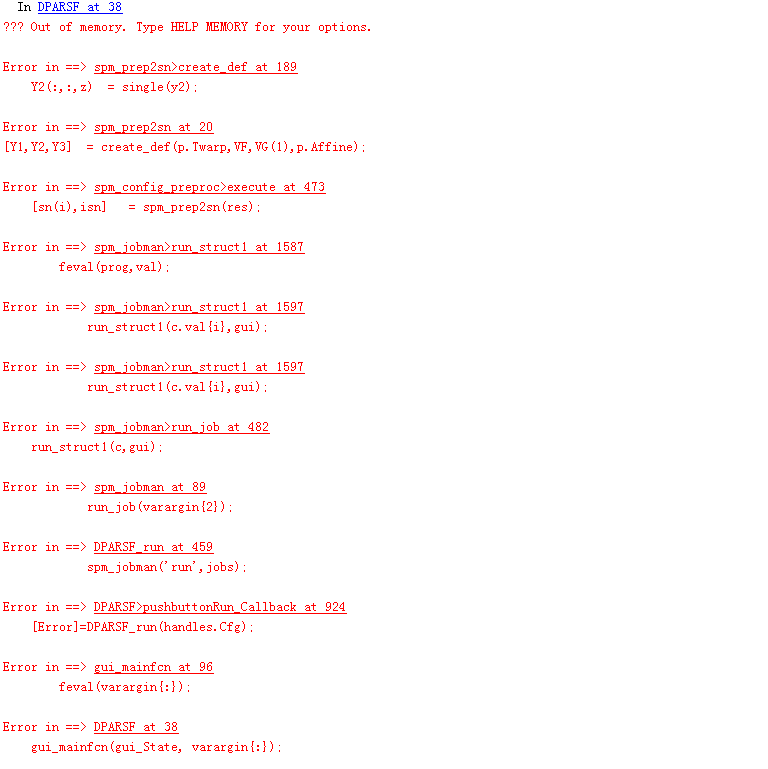
Submitted by YAN Chao-Gan on Wed, 05/05/2010 - 10:37 Permalink
Re
出现这个问题的话,需要打开Windows 7的大内存控制。
请参考:
Source: https://forum.solidworks.com/community/solidworks_simulation/simulation/blog/2009/10/08/3gb-switch-question
Using more memory is definitely an advantage in Simulation. There seems to be a lot of confusion in the industry about what's commonly called the Windows “4GB memory limit.” When talking about performance tuning, people are quick to mention the fact that an application on a 32-bit Windows system can only access 4GB of memory. But what exactly does this mean?
By definition, a 32-bit processor uses 32 bits to refer to the location of each byte of memory. 2^32 = 4.2 billion, which means a memory address that's 32 bits long can only refer to 4.2 billion unique locations (i.e. 4GB).
In the 32-bit Windows world, each application has its own “virtual” 4GB memory space. (This means that each application functions as if it has a flat 4GB of memory, and the system's memory manager keeps track of memory mapping, which applications are using which memory, page file management, and so on.)
This 4GB space is evenly divided into two parts, with 2GB dedicated for kernel usage (i.e. used by Windows OS), and 2GB left for application usage. Each application gets its own 2GB, but all applications have to share the same 2GB kernel space.
To be able to extend this to 3GB for applications, such as SolidWorks Simulation, then here is how you do it:
Enable the 3GB switch on Windows XP
Select the following line in the boot.ini file:
Note: Your text string may be different from the text string in this solution, so be sure to copy the text string from your boot.ini file, and not the text string included here.
Enable the 3GB switch on Windows Vista and Windows 7 (32-bit)
Disable the 3GB switch on Windows Vista and Windows 7 (32-bit)
For more information on the 3GB switch, refer to the following Microsoft MSDN article:
http://msdn2.microsoft.com/en-us/library/ms791558.aspxhttp://msdn2.microsoft.com/en-us/library/ms791558.aspx
More on BCDEdit at: http://www.windows7home.net/how-to-use-bcdedit-in-windows-7/